Sunday, July 21, 2013

22nd week wheels on the ground

Time is starting to close in.  September is only 6 weeks away.  This weekend we focused on getting the landing gear and wheels back on the wing.
It only took a couple of days to disassemble this airplane but putting it back together is like working on an erector set with limited pictures.
The front wheel and rear braces were attached but were not meeting the holes in the engine stand.  To solve this problem the seat was removed.  this gave some ease to the brackets but then the lower brackets kept torquing and twisting the frame.
Similar problems were encountered in attaching the rear wheels.
This is the rear wheel after attachment.

To attach the wheels weight was added to frame to align the the axels.

The tire is being lined up with the axel but care is taken not ruin the threads
.
At the top you can see the seat is removed yet the oak boards are several inches short of  the engine stand brackets.

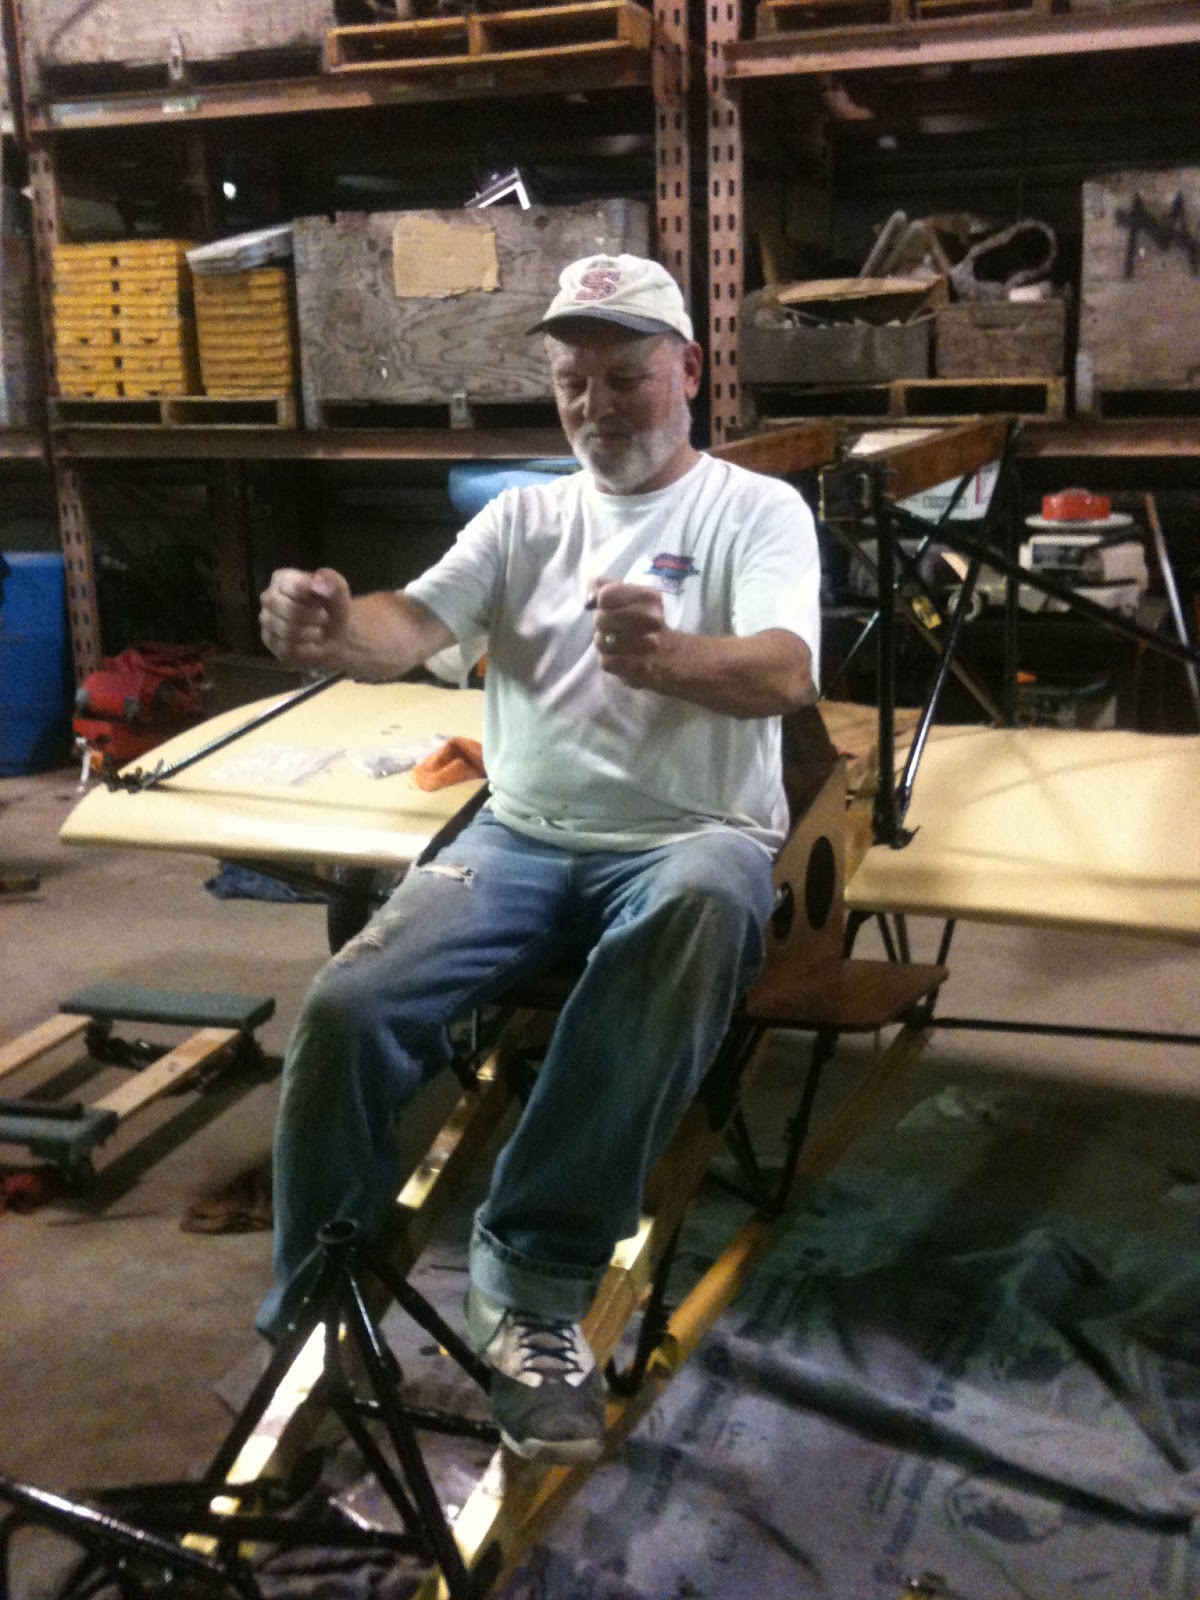
It takes several hands to align the seat to the bolts.

It still a struggle to get the bolts lined up.


The brackets are taken off and re-set 

Dan takes a seat .

Doug finds the new seat rewarding.

21st week

The 21 st week was a busy week for the museum in that they hosted the second Cruize in for cars that  weekend.   Many volunteers were helping in the parking of cars and other activities.  Work on the pusher mainly focus on putting the landing gear struts back  on to the wing.
This is the engine stand being fastened to the lower wing.  It will support a V-8 engine.

Here we see one of the newest airplane to the museum a 1928 Waco.

Here you see the v brackets that attach to the wing and form the landing gear.


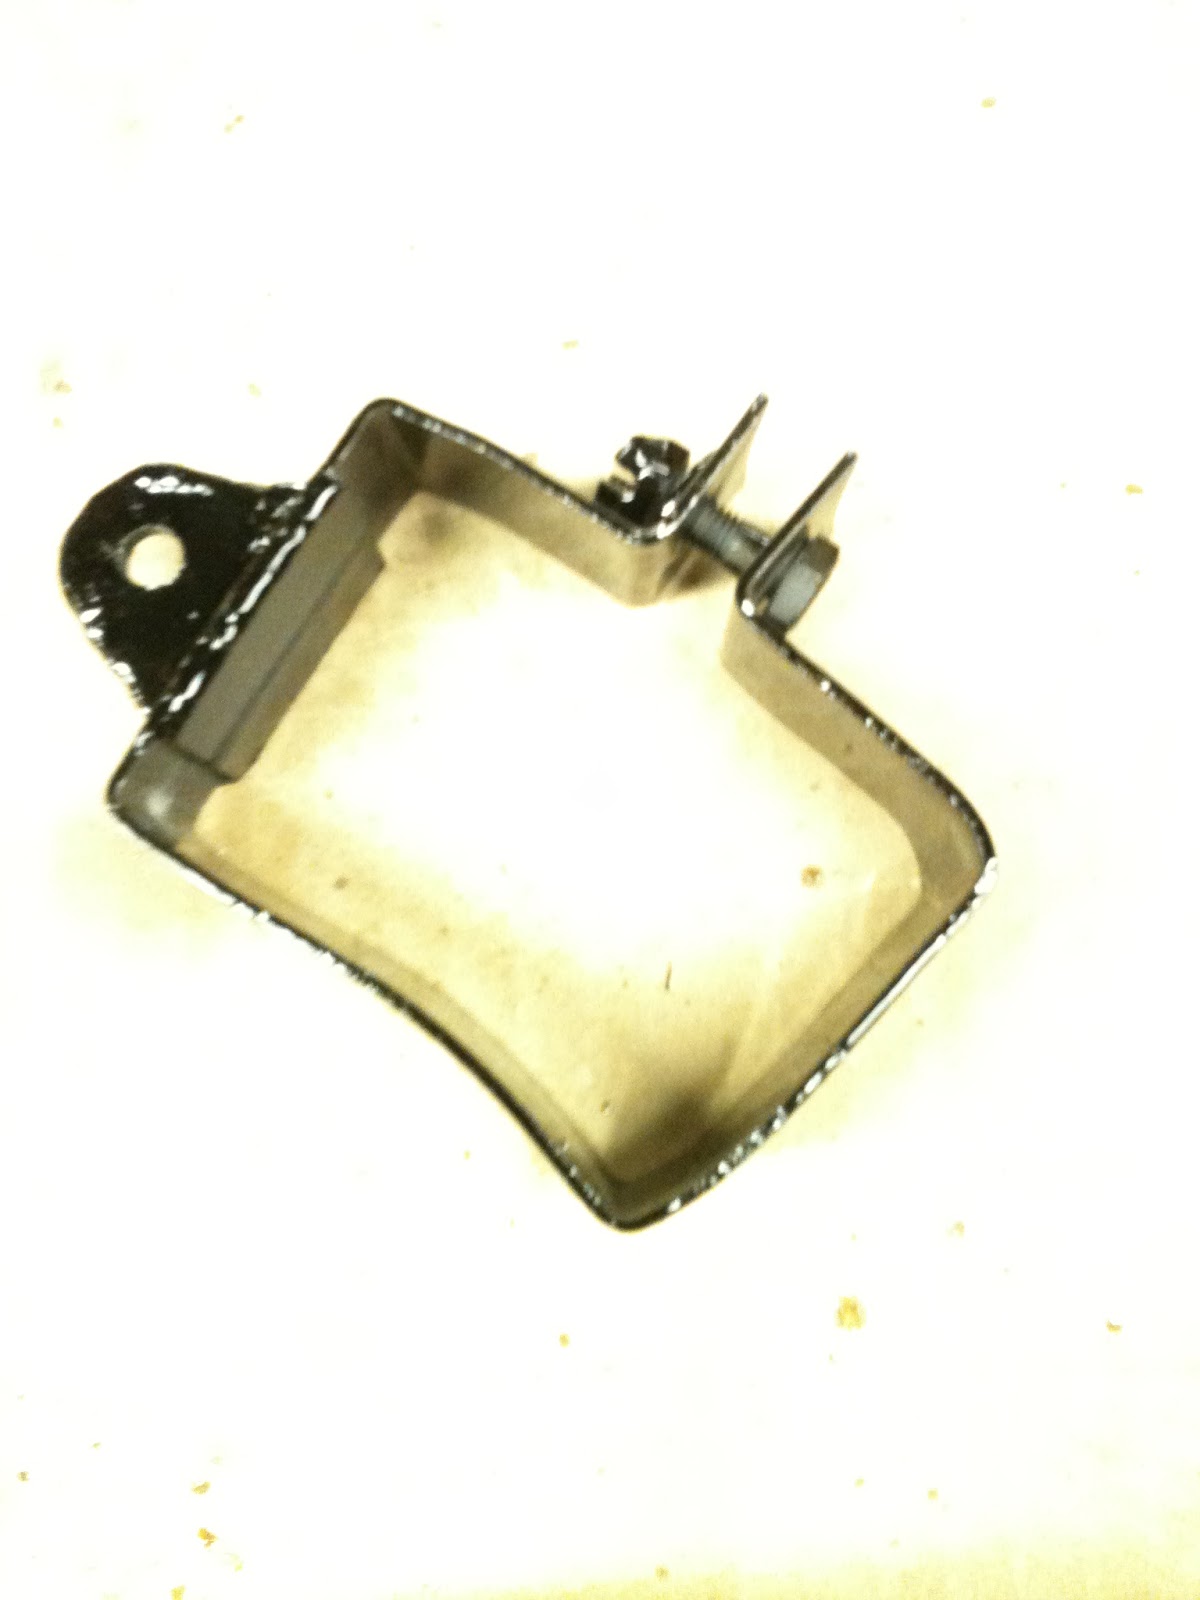
There are over 100 various brackets and small pieces that have to be reassembled.

This is a view of the fabulous hot rods and custom cars assembled out side the hangers.

The only way to figure out where things go is to refer to the photos taken before the air plane was disassembled.

Monday, June 24, 2013

20th week

This weekend the pusher crew worked in several areas.  The top middle wing, the seat, and the engine stand.
The middle wing is the last peice to be restored in fabric.  This weekend we worked to reattach the wing brackets the hold the outer wings to the main fuselage.  This was an interesting  problem .   The debate as to which position the brackets should in adition to what type of bolt would best work in fastening the bracket took at least an hour to achieve.
While several members struggled with the others worked on finishing the pilots eat and reassembling the motor stand to the middle wing.  This stand has been rebuilt and should easily support the OX-5   V-8 motor.
Crew examining the wing bracket.

Discussion as to what position the bracket should go.

Internal support wires need to be tight

This is a bracket the hold the fuel tank to the wing.

Here we attaching the fuel tank bracket.

The seat bracket is bolted to the new wooden seat.

Its amazing that the pilots sits on this simple wooden seat as he flies this airplane.

Here you see the motor stand being attached to the lower wing.  This will support a 400lb V-8 engine.

Friday, June 21, 2013

19th week Moving the Boeing 40 and more fabric application

This week the volunteers helped the Museum move one its key airplanes a 1927 Boeing 40 mail plane.
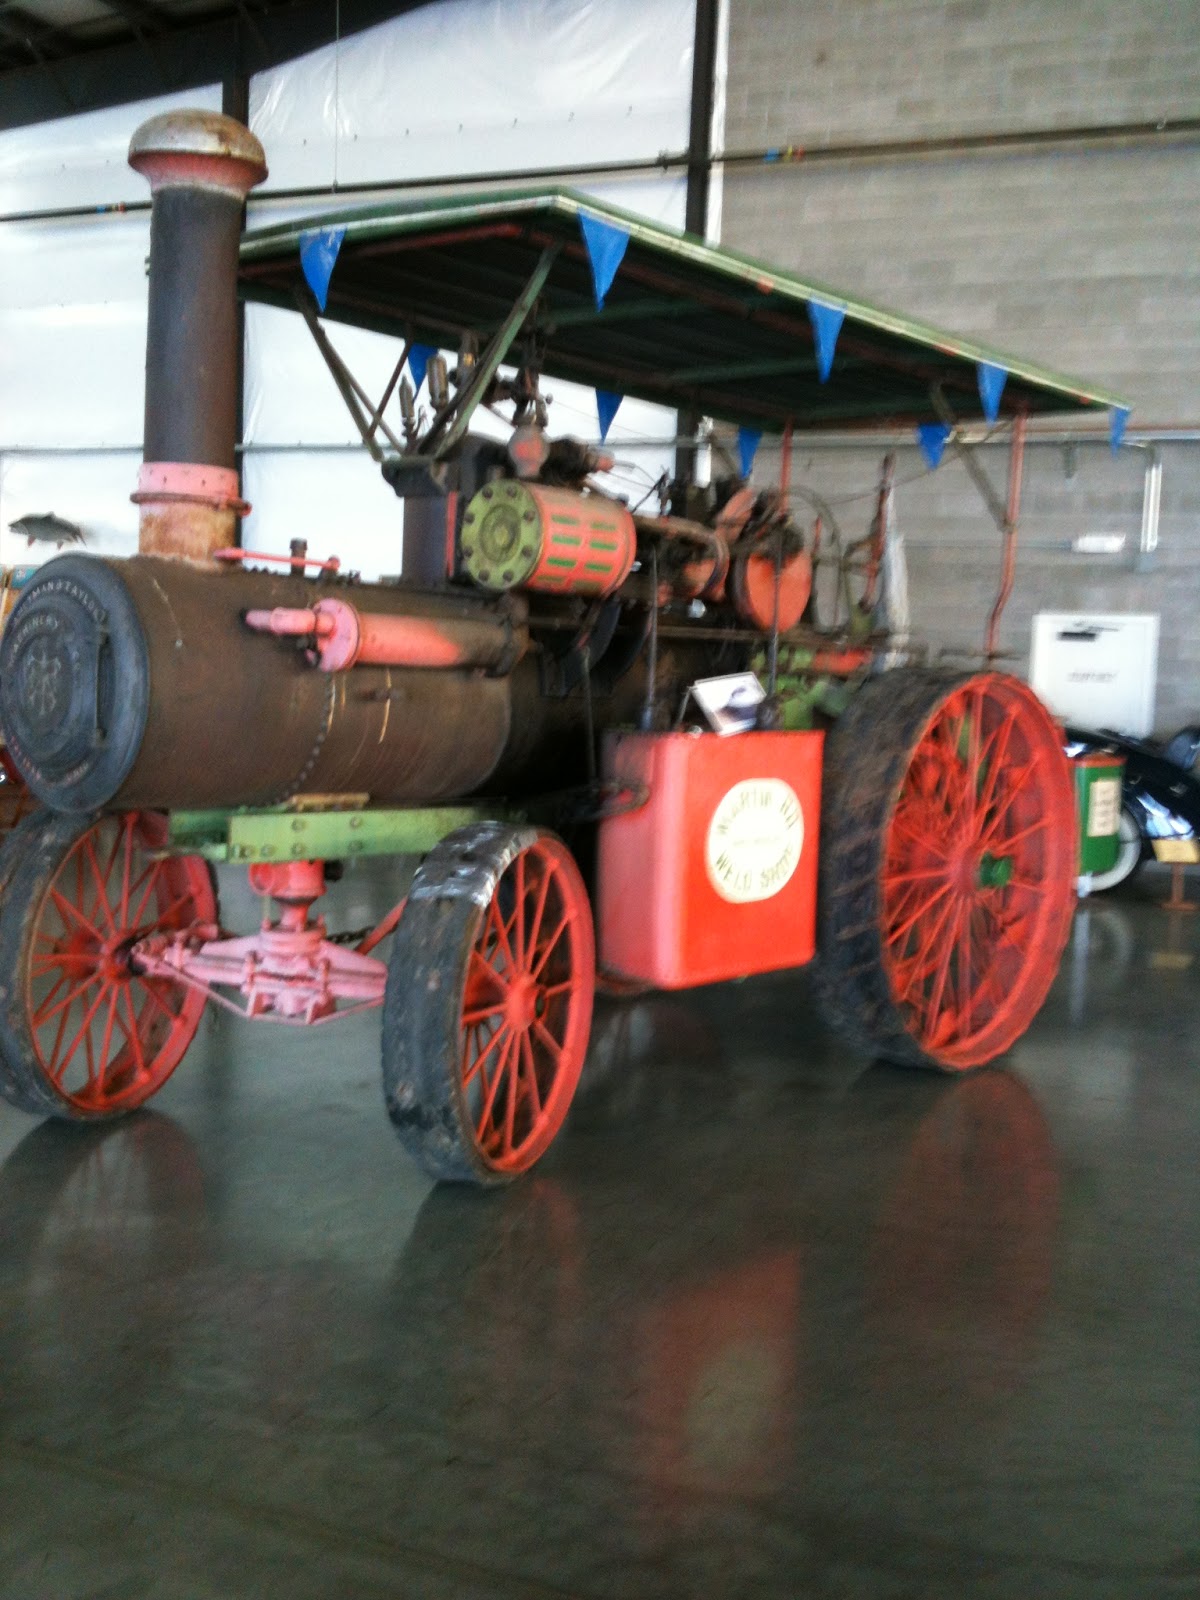
This airplane crashed in the Mountains of eastern Oregon .  The plane was recovered in the late 1980's and a complete restoration was done .  This Friday the airplane will fly to Washington for air show.  Many airplanes were moved out of the hanger including a 1900's Steam powered tractor. 
Following the movement of the Boeing 40 we worked on the last wing of the pusher.  This involved cutting and gluing fabric tape to reinforce the areas of the leading and trailing edges.
The Boeing 40 the pilot is exposed to the elements and the two passengers sit inside the fuselage.

The two doors are open for the passengers.

We had to move the 1900 steam tractor.

The Baker electric had to be jacked up and moved by hand.

Rollers were placed under the wheels of the curtis robin to move the wings.

The steam engine in its new space.

Cutting tape for the leading edge.

Stitching the fabric to the ribs.

Applying glue to the tape.

18th week Assembling a 1928 bi plane

This weekend many of the volunteers helped in the assembly of a 1928 Command Aire.
This airplane is in incredible shape.  The engine is the same engine that we will use on the Pusher.  It is a OX-5 v-8 that was built to power the Curtis Jenny.  It has about 90 HP with an open valve train and water cooled.
The Command Aire was transported in a u haul truck from the mid west.  The landing gear had to be reattached then the lower wings were bolted to the fuselage.
The tricky part was the top wing.  We had to use the fork lift and many hands to line up the struts and wires.
Its amazing to think in the 1920's these planes were assembled by hand using just block and tackle.
Attaching the wheels.

Lining up the landing gear struts.

Lower wings and wheels attached.

Moving the top wing.

The OX-5 engine.

Wing struts.

Moving the top wing.

Top wing and first strut.

Lining up the the pins in the struts to the wings.

It takes many hands to reassemble this top wing.

attaching the wing struts.

Moving the second wing.

17th work week

This week progress on the Pusher advanced into the mounting of wheels on to the landing gear.  There was also great progress made in the area of fabric application.   A expert in the area antique airplane restoration came up to Hood river and taught some of the art of fabric application on wooden wings.
The fabric a modern polyblend is hand stiched to the ribs on the wings.
Later is is sprayed with an aluminum paint and a final coat of dope.  The colors for the wings is a beige color.
The tail is a bright orange.
This is the Jenny wing before fabric.

This is the V shaped landing gear with the new front wheel mounted.

Here you see the finished wing covered in fabric and painted.   Note the stiches on each rib.

The middle wing wing had a lot rotted wood.  New ribs had to made and glued in place.

More ribs are made and glued in place.  They will be covered in plywood then fabric.

The restored tail is hanging in the paint booth with fresh red paint.

These are the original wooden wing struts.  They have been stipped and cleaned . Next step is fresh varnish.