Saturday, April 13, 2013

11th work weekend

This weekend the following things were being finished.  The brass plates were being attached to the keel.
Small gussets and ribs were attached to the center wing.  More metal parts were sand blasted and cleaned.
The wheels and tubular frame parts were primed for painting. 
This was also a second Saturday at the WAAM and this weekend featured Studebakers.
Painting the front wheel
New tires for wheels.
Moving tables to work on the wing.
white material is soaking oil out of wood.
Preparing wing for rib and gusset repair.

Painting inside the wheels


Sunday, April 7, 2013

Week 10

This week the rains have come back so the painting was put on hold.  However several volunteers showed  up and many thing were worked on.
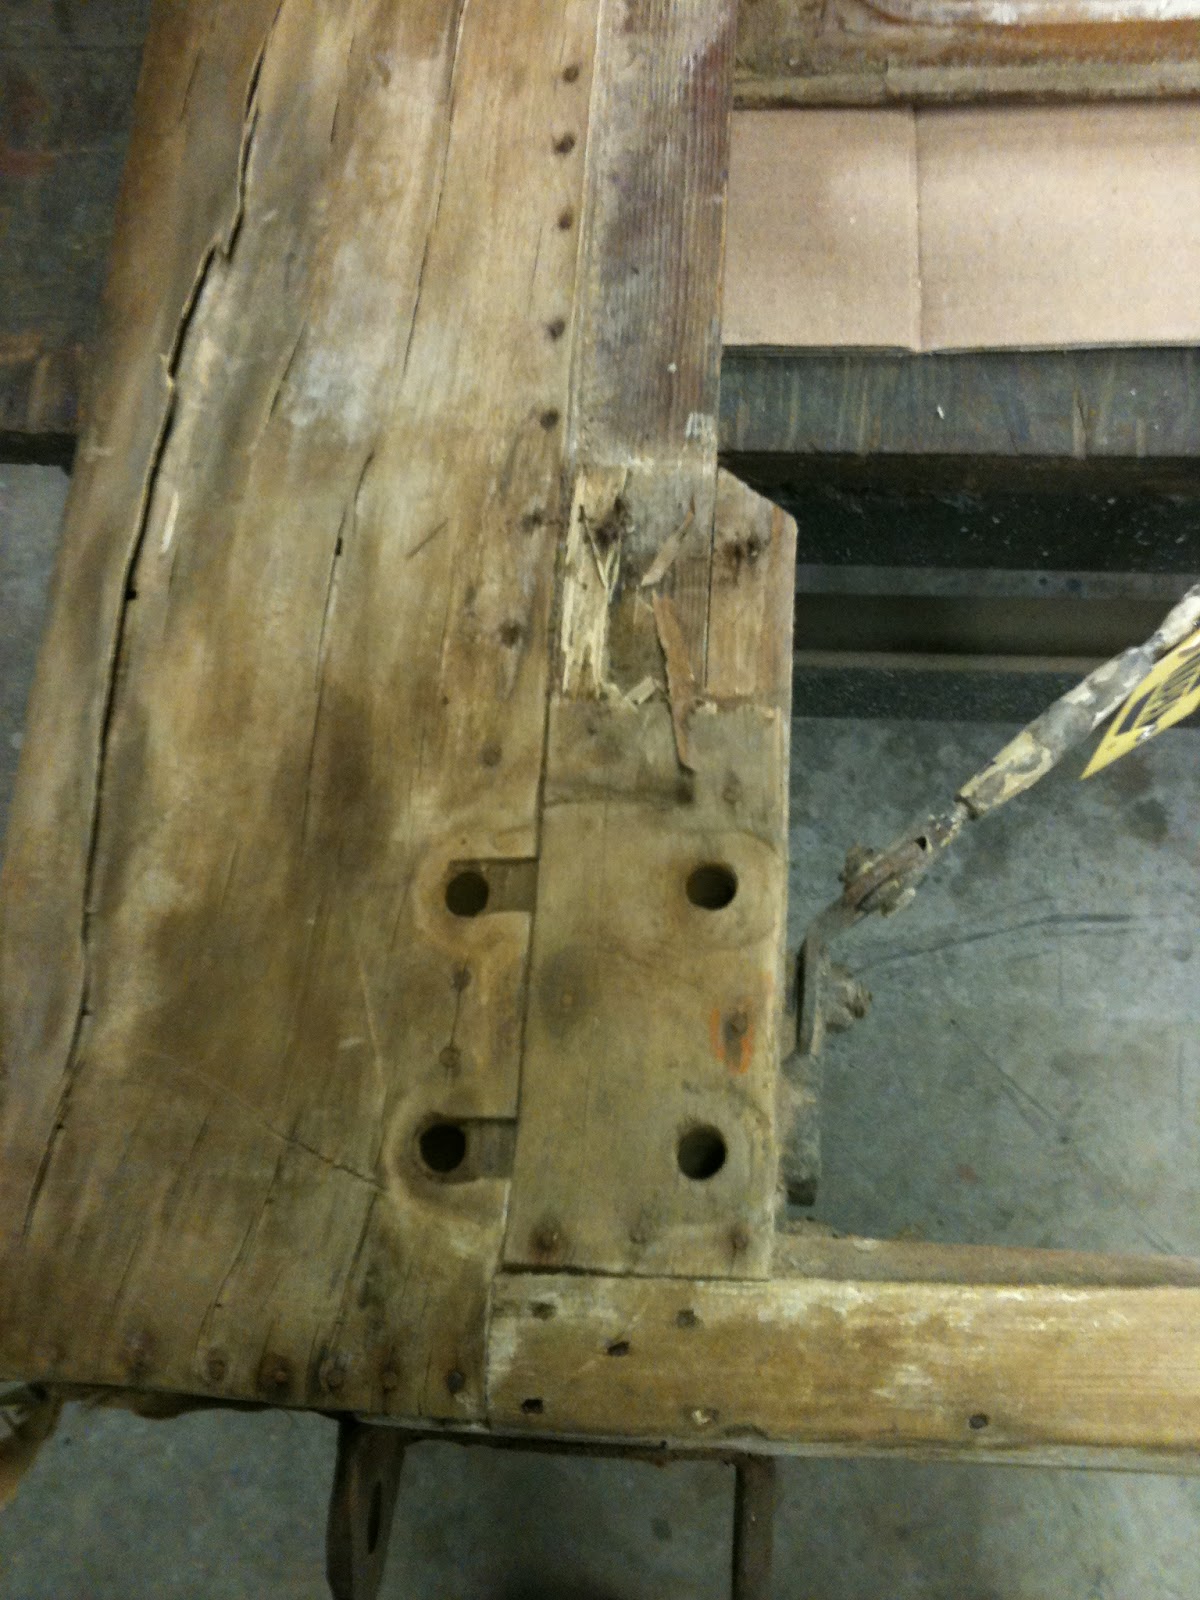
There was a crew that rebuilt the supports and gussets for the landing gear.  Over 90 years of use the wood has fatiqued and become crushed from the load.  We had redo the supports connected to the lower wing.
Another group worked on the seat rebuild.  There was also metal parts that needed sand blasting and cleaning on the wire wheel.
Finally the group working on the brass straps for the keel were getting closer to completion.
Fitting the seat and replacing wood on the end caps.

Sand blasting and working on the keel.

Week 9

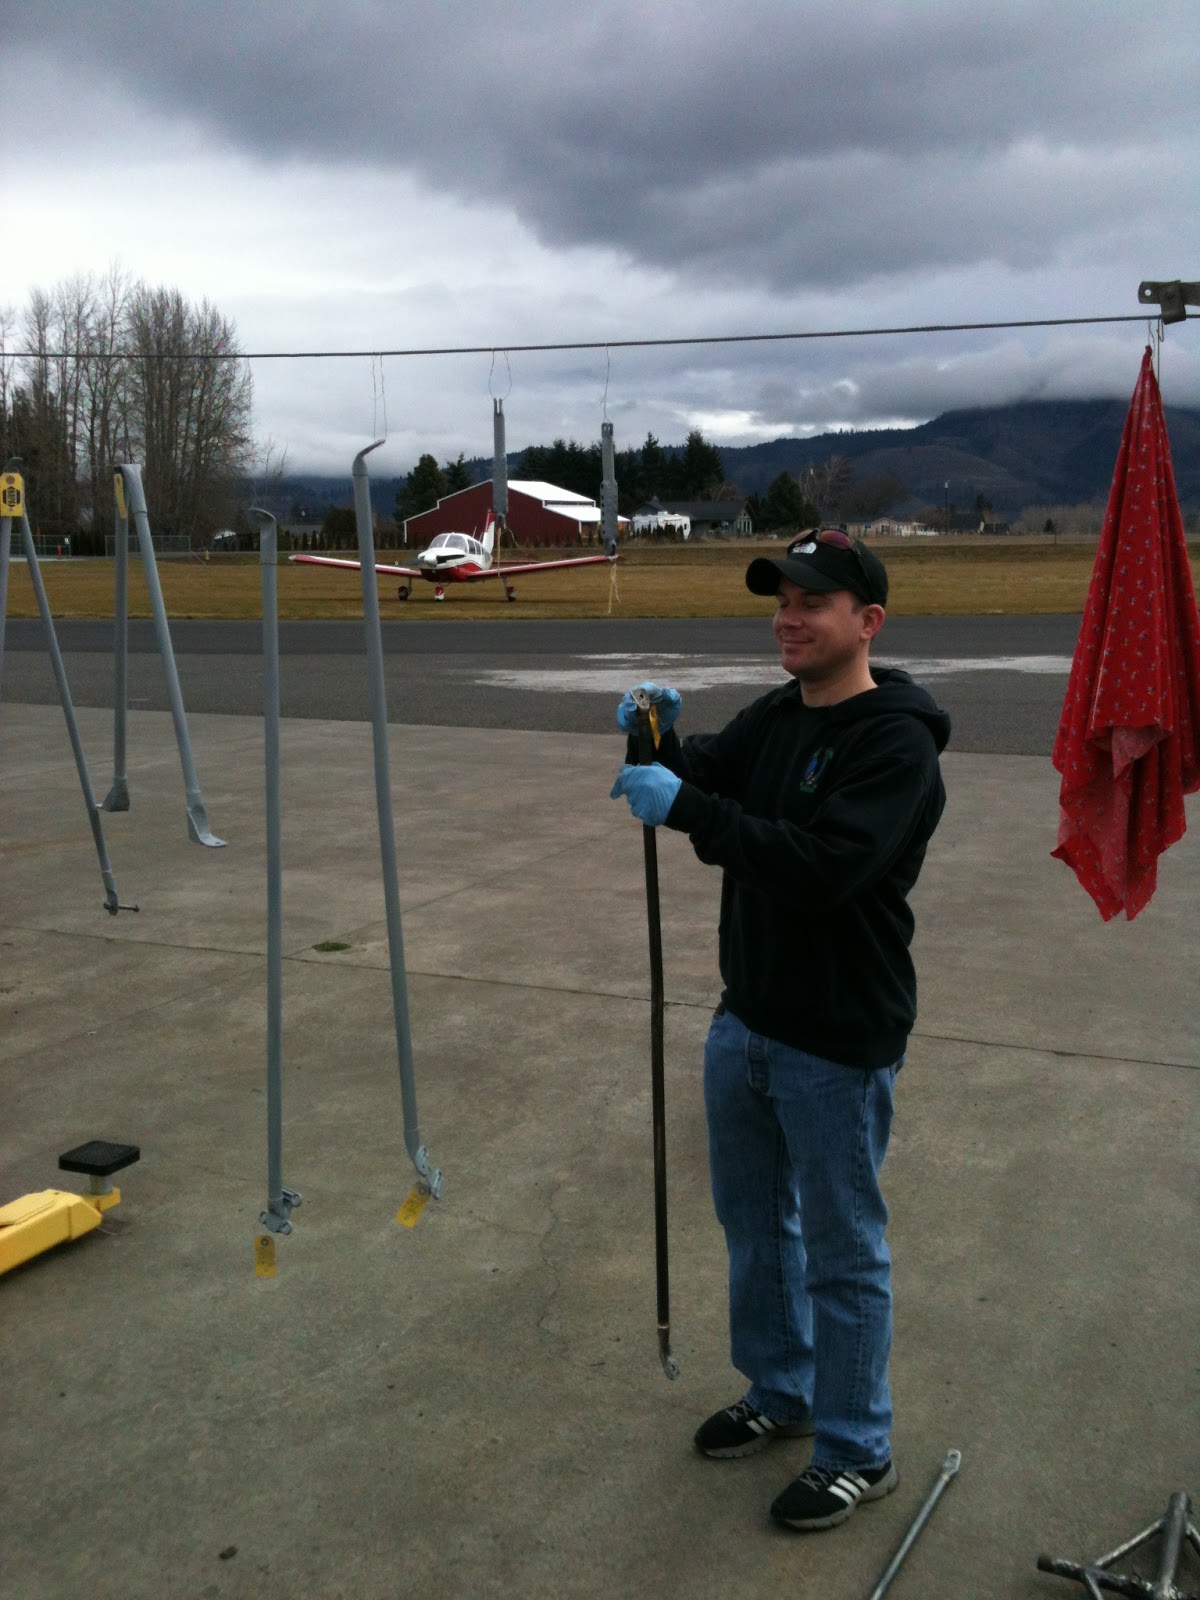
Although I was occupied with Easter that weekend , I hear the work was fabulous.  The Metal frame and landing gear tubes were painted gloss black.  You can see how the paint was applied out side the hanger.
The tail sections were primed with a special primer that allows the fabric to be glued in place.
Frame and landing gear being painted.
White primer applied to tail surfaces.
Black painted drying on frame and landing gear.

Saturday, April 6, 2013

Week 7 and 8

During week 7 and 8 the volunteers continue to work on Curtis Pusher.
There are several groups working in different areas.  One group continues to clean up frame parts.  Soon they will be primed and painted.
Another group is working on the restoration of the lower center wing.  This wing supports the landing gear and the V-8 motor.  Several of the ribs in the leading edge required replacement due to rot.
The ends caps of the wings were warped and required rebuilding .  The crew had to reconstruct the pieces carefully to maintain the original airfoil.
Antoher crew has been working for several weeks on the seat.  A new seat is being built out of wood and will soon be assembled.
Still anothe r group is working in brass recreating hold down for the keel and landing gear .
All this work is very interesting with a high learning curve.
Rotted wood on end plate.
Polished metal of frame .
Brass being folded and formed for keel landing gear.
Fitting new wood.
Disassembling the tubular frame.

week 5and 6 Sanding Continues

The original Curtis pusher had a frame made out of bamboo.  this plane was contructed later in the 20's and 30's by Billy Parker and has been modified to with stand many crashes in films of the period .
One of the modifications was to create a frame work from steel tubing.  The other was to use modified wings from the Curtis Jenny.  In this post we are dealing with the frame.
Many of the frame parts were rusted with years of paint applied.  The same was true for the tail structure.  The crew has to remove this paint and rust using sand blasting for small parts andpolishing with wire wheels.  you can see how tedious this work was.
After the paint was removed the parts were primed and then painted.
Tail section being cleaned for primer.
Cleaning the tail with a wire wheel on a grinder.
Metal parts before and after cleaning.
Cleaning the large parts with a wire wheel on a bench grinder.

Saturday, February 16, 2013

4th saturday work day

Today is February 16th and its been a  month since the Curtis pusher project started.  I was absent for a week however I didnt miss much.  Last week only a few volunteers showed up.  So far the following things have been accomplished. The motor was sent off to be restored.  It may take 6 months but the museum has an extra OX-5 thats just fresh from a rebuild.
Today there were many volunteers and alot of work was done.
The seat was disassembled and a pattern was made.  Metal parts were painted in primer while old parts were cleaned by sand blasting.
The wing was disassembled and checked for rot.  Also the keel and pulley systems were disassembled and labeled.
The le3ading edge of lower wing. Note the warpage and cracks in the wood.
Another view of nearly 100 years of weather on thin plywood.

Labeling all the cables. 
Early seat disassembly.
Setting up the paint booth.
I had the privilege of working the lower wing.  The leading edge was created by a thin sheet of plywood stretched over some fragile ribs.  In order to remove this material we had to carefully dig out hundreds of tiny nails.  There were shims that supported the vertical struts but they distorted by years of wear and had to be removed.  Finally the end cap ribs were removed to make new ones.

Wednesday, January 30, 2013

dismantling the frame and wheels

Front wheel.
Rear wheels and tripod frame.
Rotted rear tire which required cutting to remove.
Last Saturday a group of volunteers met to continue the work on the Curtis pusher.  It is interesting to be around this group and listen to their analysis of the various problems this plane presents.   The engine had been completely opened up and the main and rod bearing s checked.  The low end of the engine seem to look great with little apparent wear. Ben assigned jobs and mine was to remove the wheels and take a spoke out of one of them.  The tire was completely flat and wires were sticking out from the side walls.  To remove it we used a vice and a saws all.  I then went back to the frame and began labeling parts.  This is a must if we are going to reassemble this machine.  The landing gear is a tri-cycle type with a wooden center piece .  Connect to the center piece are several braces which form a V.  We labeled these V brace 1 ,2 etc.  As they came off they were taken to a sand blasting machine for removal of paint and crude.  This could be the bottle neck in the project be3cause so much material need cleaning and there is only one machine to it.  Later in the day the entire frame was taken apart and labeled.  Next week a new wooden yoke will be brought in and fitted.