Sunday, May 19, 2013

15th week building the landing gear.

The last installment today will give you an idea of how we reassembled the keel and landing gear.
All the metal parts were labeled and then sanded, primed and painted.  The wooden parts were reproduced in oak with new brass fittings.  We  relied on photos  taken before the restoration.  These photos showed us the position of the five v braces.  At first the parts were wired together and then they were finally bolted together .
The before picture of the braces attached to the front wheel.

Placing the five v braces on the keel.

Using the wooden side brace to line up extra braces.

Attaching the front wheel.

Keel and landing gear nearly complete.

Checking the position of the seat bracket.

15th work week the middle wing

During the 15th week the middle wing was worked on.  The new plywood was attached to the leading edge.  It was repeatedly soaked and then tied down to conform to the ribs.
Today the excess wood was planed off and then the remain ing wood was glued in place.
the leading edge of the lower wing.

The shavings from the plane.

Running the plane removing the excess wood.

15th week engine rebuild

This week i will be posting three entrees .  Each will discuss a specific part of the restoration.
This first entry is about the engine.  The OX-5 engine is a aV-8.  While we are waiting for the engine to be rebuilt in California , Bill is attempting to build an engine from the many extra parts here at the museum.  This Saturday I saw him working on the oil rings.  In these pictures you can see him filing the space in between the rings.  The rings are tapped into the cylinder, measured for gap then adjusted.
Pressing the ring into the cylinder.

Grinding the space between the ring.

Checking the gap in the oil ring.

Thursday, May 16, 2013

14th week of restoration.

In the 14th week the WAAM held its second Saturday open house .  The month featured the military planes and vehicles.
The restoration continued and visitors got a glimpse of the crew in action.

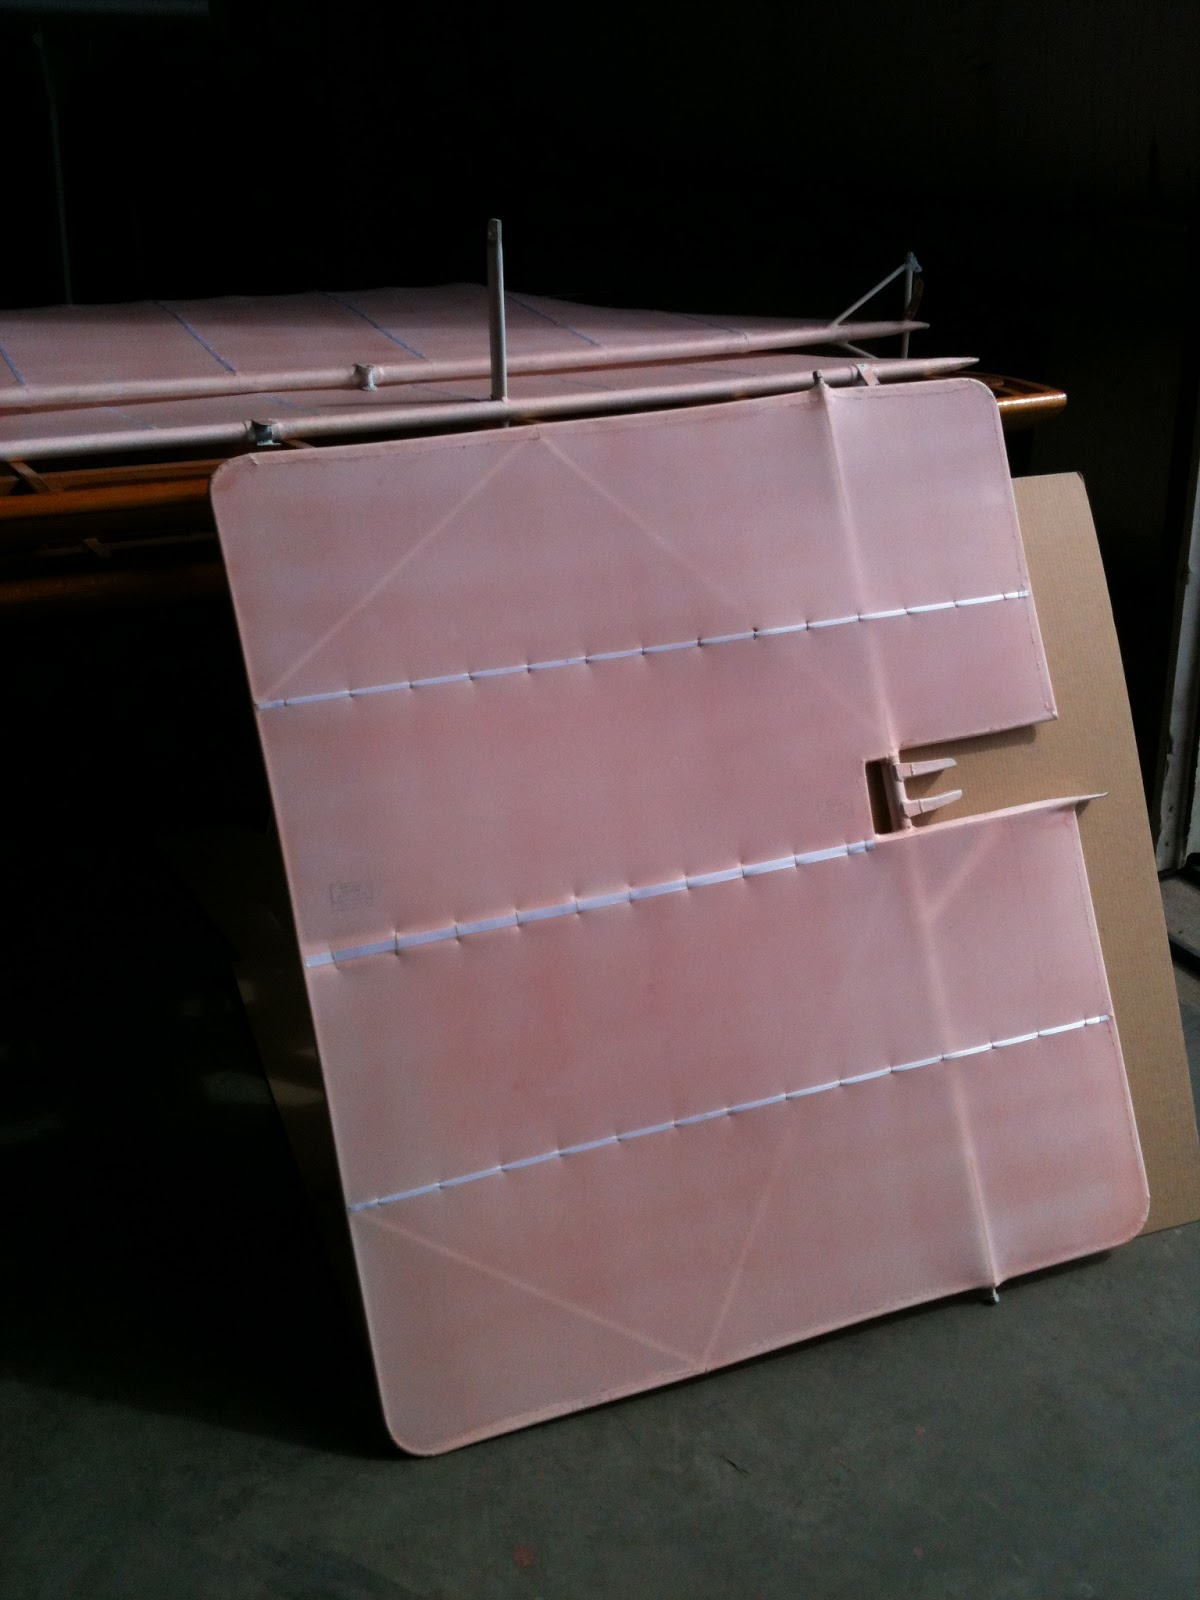
The wing fabric was installed on the tail and rudder.

The leading edge of the center wing had a thin sheet of plywood which was rotted and needed replacement.  This needed to be bent and wrapped around the ribs.  In order to get this accomplished the wood had to be soaked and strapped on the wing.

The engine stand and landing gear parts are a combination of steel tubing and wood.   These parts were laid out and reassembled .   This was tricky in that many parts looked alike.  It was like putting together a giant erector set.

soaking the leading edge and bending the plywood.

tail section in new cloth .

Metal end cap on leading edge before plywood covering.

Rear stabilizer in new cloth.

Setting out metal tubing and wooden parts for engine stand.

reference pictures for engine stand.

Studying the parts.  What a jig saw puzzle.
Fortunately we had good labeling system and many good original photos to work from.

12th and 13th week of restoration

During the 12th and 13th week of restoration several aspects of the airplane have been met.

The wheels have been painted and new tires sporting white walls have been mounted.

The end caps of the upper and lower wing have been replaced and extra braces have been added to support the wings.

The seat has been completely rebuilt and the restored jenny wings have been shellacked for future fabric application.
newly painted wheels with white walled tires.

Newly formed end cap clamped and waiting for glue to dry.

Measuring leather ties for wing bracing wires.

cutting out new leather ties.

Finishing the wooden seat.

Applying shellac to the outer wings.