Sunday, September 8, 2013

Last minute touches

Saturday was the fly in.  The Curtis pusher is almost ready.   Its not going to fly today we still need more wires for control features but we plan to start the engine for the crowd.
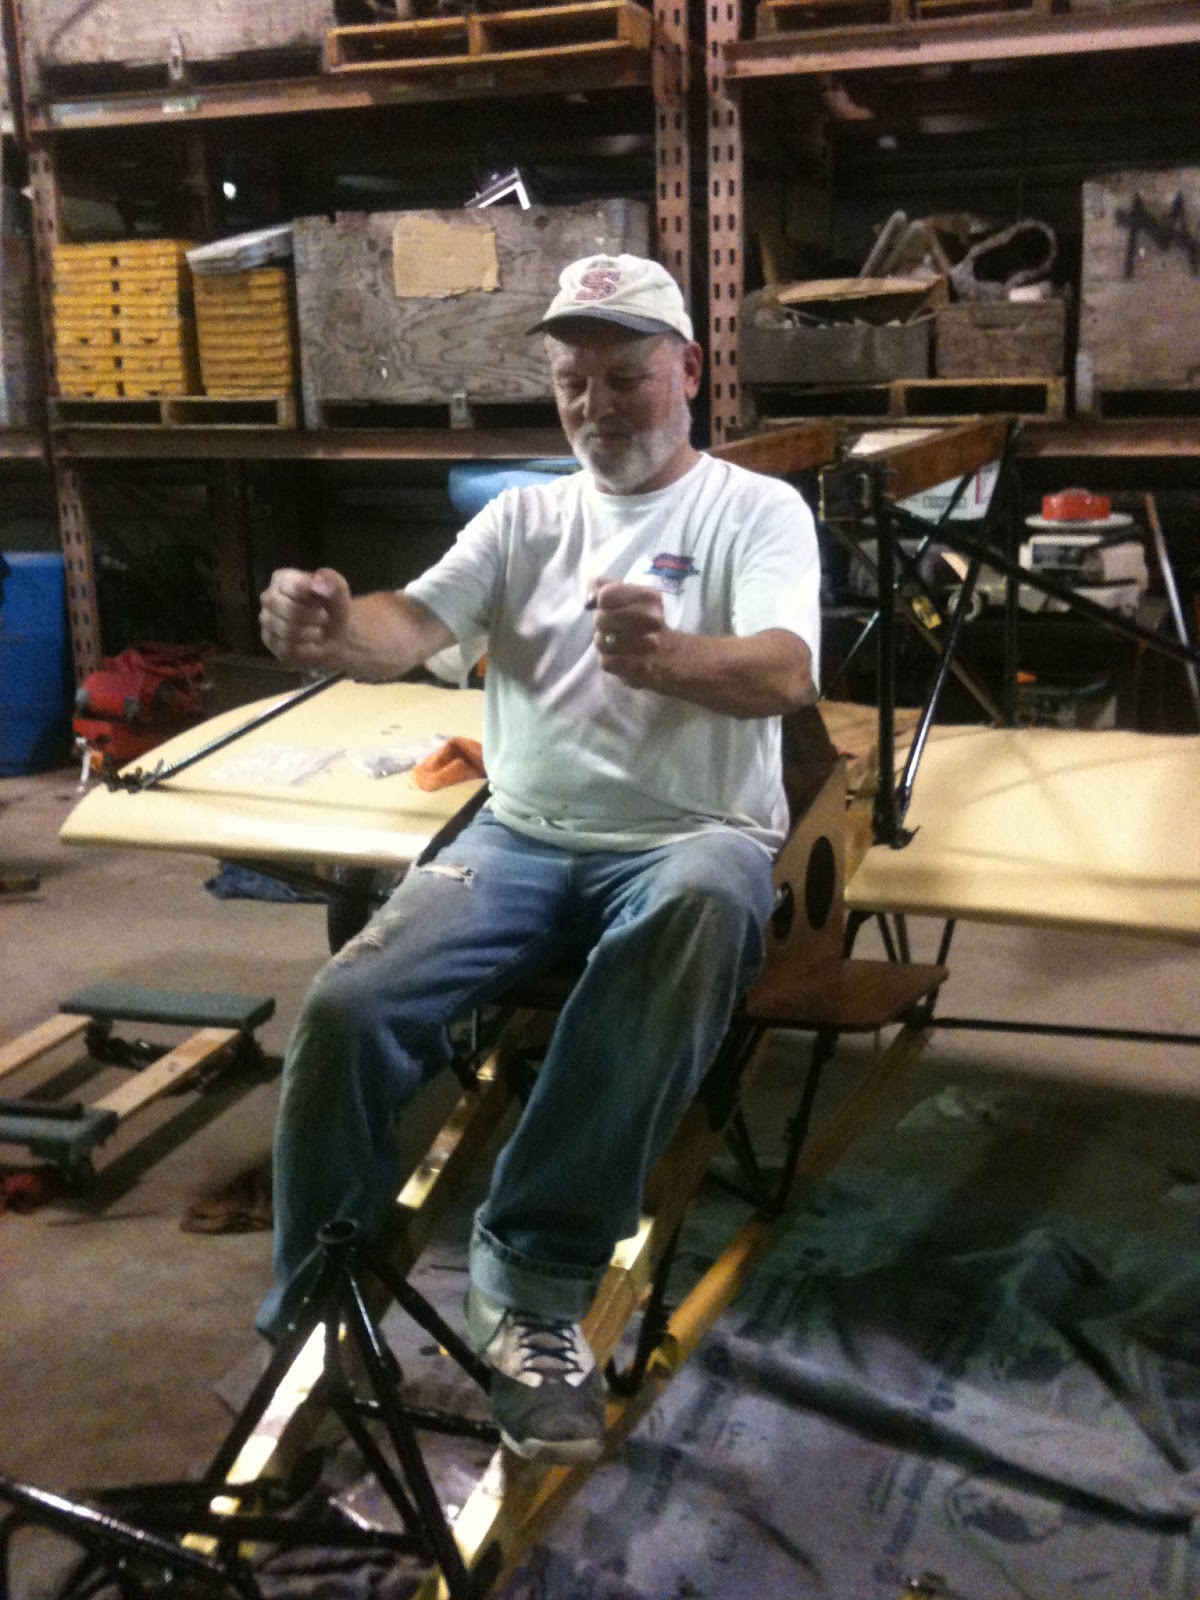
The volunteers are all over the air plane for at least 4 hours before the debut.
Men are working on creating wires to hold the tail section.
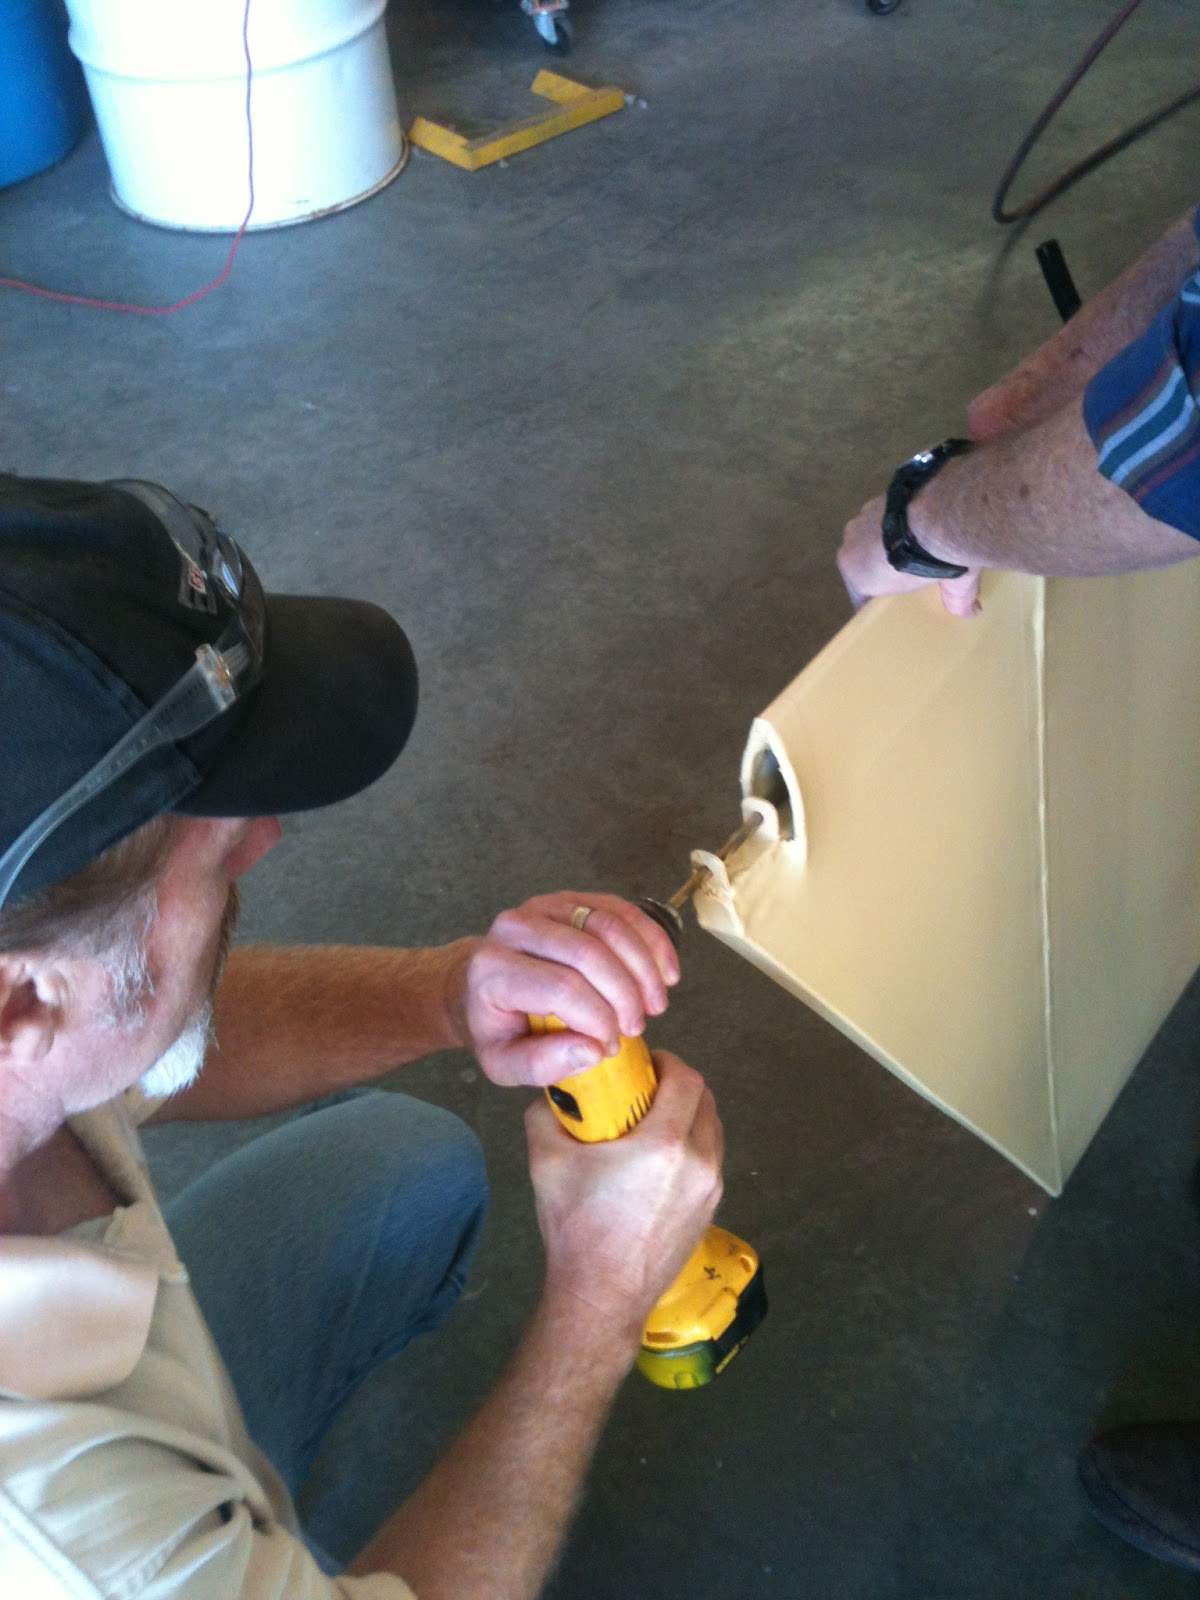
The fuel lines are attached and the carborator is primed.  Others fastening tiny screws to hold a rubber
 gasket between the wings.
This was a very enjoyable experience to work with such a capable group.
Enjoy.
Wires are created for the tail section.

Safety pins are installed in castle nuts.

Kelly fastens tiny screws to the rubber gasket.

A spool of wire lies on the wing.

The fuel line is installed.

The carb is primed.

The second tank arrives.

The engine is about to be proped.

the engine runs.

Sunday, September 1, 2013

installing the ailerons

Today we installed the ailerons.  This ended up being a tricky job.  They are suspended by two pins through a bracket on the wing struts.  Jay designed and built these little wings for the pusher using old photos of the original plane.  It took several men to get the bolts to fit.  we also had to drill out the holes and then carefully place a castle nut on the ends.  One more week left.
Kelly drills out the holes on the aileron.

A drill is used on the inner bracket.

Two men hold the aileron in place.

But it takes more hands and eyes to guide the pins in place.


Bill tightens water hoses before the radiator is tested.

Saturday, August 24, 2013

painting the ailerons and tieing up loose ends

Today the pusher crew worked on various item s in the final two weeks before the fly in.
i worked under the wing securing nuts and bolts with small cotter pins.
Kelly worked at drilling small hole in the bolts attaching the new steering wheel.  Jay and Doug worked on sanding and preping the ailerons for paint.
The radiator was finally installed and new fittings were made from copper pipe.  Two more weeks left till the fly in.
Here you see the tiny cotter pin being fitted as a safety for the engine stand bolts.

The new  steering wheel is fitted in a vice . 

Jay and Doug wet sand the aileron.

The radiator is installed behind the pilot.

New bushings are installed by Tim to true up the wings.

Kelly drills out the bolts for the cotter pins.

Dan attachs pins and bolts underneath the wing.

The ailerons are painted the same color as the wings.

Monday, August 19, 2013

covering the ailerons

Last Saturday a large number volunteers showed up to work on the Pusher.  The wings are on and the aileron frames have been built.  The group went to work in different areas.  I helped clean up turn buckles for the remaining support wires.  Another group worked on covering the ailerons.  Still others worked with the radiator and pulley control system.  
Its amazing how well this team works together.
Doug and Jay arrange the first aileron.

Here a crew member seals with varnish a piece of wood that will be a gasket for the radiator.

Here you see the aileron in cloth covering . Later it will shrunk to shape with an iron.

Kelly is labeling the control pulleys and wires.

Ron and a crew member are measuring the bracket that will support the radiator.

Friday, August 16, 2013

the wings are on

Yesterday was August 15th and i went out to the WAAAM to help with the Pusher project.  Last weekend the crew managed to attach the tail , rudder and two wings.  Its amazing to see how the tension of the wires supports so many things in this airplane.  It is basically a v-8 powered kite.
Today Jay was working on manufacturing the ailerons for the airplane.  This airplane is very different from the Wright flyer in that its has true ailerons suspended between the wings.  The Wright aircraft used wing warping which was very inefficient for banking.  In fact the Wright  brothers tried to stop Glen Curtis from selling and making airplanes by suing him for stealing their invention of wing warping .  Curtis fought this in the courts until 1913 when the government stepped in and had the parties settle the suit.
So jay asked me to work on squaring up the middle wings and and removing the bow in the lower wing caused by the weight of the engine.   Both of these tasks were accomplished by changing the tension on the wires supporting the middle wings.   To do this I worked with another volunteer loosening and Tightening the wires until the wing moved.  It was amazing physics in practical terms
This view shows you the wings attached to the mid section. Notice the vertical struts they are off of a WWI Jenny.

Here you see the radiator on a chair the pilots eat and the ox-5 Engine.  Note the exhaust pipes come straight out with no mufflers.

This the tail section with original id numbers and markings.

In this picture you can see the wires coming down and attaching to the engine stand. They are tightened with a turn buckle.

To take weight off the center wing we blocked up the landing gear with scrap wood.

Sunday, August 11, 2013

The Engine arrives

During the past two weeks I was on a vacation with my wife Peggy so iwas unable to help on the Pusher.
During this time a fresh OX -5 engine arrived from our restoration expert in California.  This engine was installed the middle wing and struts and top wing were put in place.  The leading edge struts are slightly shorter than the trailing edge struts.  The weight of this v-8 engine caused  a problem in installing the brace wires.
Eventually we were able to get them connected.  The next step was to attach the booms to the top and bottom struts.  In order to attach these tubes a bolt a nut had to be inserted with out tearing the wing fabric.  Eventually this was done.  Lastly it was discovered that in order to attach the booms to the rear stabilizer a tab needed to be turned around pushed through the fabric.
Here you see the pusher with pilot seat center wing and engine in place.

Here we are adjusting the front wheel.

Here we are attaching the wires.

The V-8 Ox -5 engine.

Tail booms attached to the wings.

supporting the booms and waiting for the rear stabilizer.

Sunday, July 21, 2013

22nd week wheels on the ground

Time is starting to close in.  September is only 6 weeks away.  This weekend we focused on getting the landing gear and wheels back on the wing.
It only took a couple of days to disassemble this airplane but putting it back together is like working on an erector set with limited pictures.
The front wheel and rear braces were attached but were not meeting the holes in the engine stand.  To solve this problem the seat was removed.  this gave some ease to the brackets but then the lower brackets kept torquing and twisting the frame.
Similar problems were encountered in attaching the rear wheels.
This is the rear wheel after attachment.

To attach the wheels weight was added to frame to align the the axels.

The tire is being lined up with the axel but care is taken not ruin the threads
.
At the top you can see the seat is removed yet the oak boards are several inches short of  the engine stand brackets.

It takes several hands to align the seat to the bolts.

It still a struggle to get the bolts lined up.


The brackets are taken off and re-set 

Dan takes a seat .

Doug finds the new seat rewarding.